Introduction
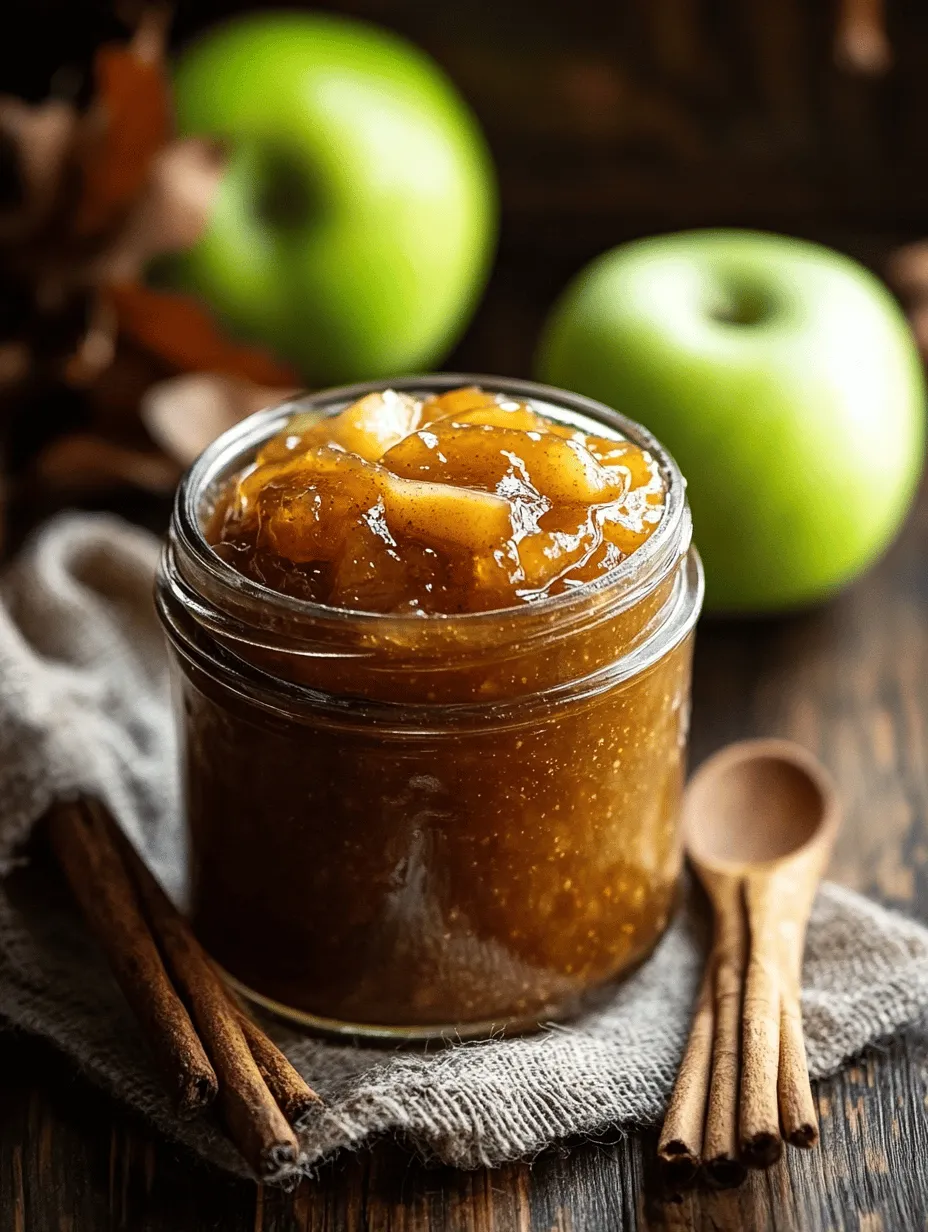
There’s something uniquely comforting about homemade jams that evokes memories of cozy afternoons spent in the kitchen, surrounded by the fragrant aroma of simmering fruits. The art of making jam has been a cherished tradition for generations, passed down through families and often serving as a delicious reminder of simpler times. Among the myriad of flavors one can explore, caramel apple jam stands out as a delightful seasonal treat, infusing the classic concept of apple preserves with the rich, decadent allure of caramel.
Caramel apple jam is not just a spread; it’s an experience. This easy-to-follow recipe combines the tartness of Granny Smith apples with the sweet, buttery notes of caramel, creating a flavor profile that appeals to both the nostalgic and the adventurous palate. Whether you’re a novice in the kitchen or a seasoned cook looking for a new challenge, this recipe promises to deliver a delicious result with relatively little effort.
The Allure of Caramel Apple Jam
The flavor profile of caramel apple jam is a beautiful symphony of sweet, tart, and rich notes that dance on the tongue. The key ingredient, Granny Smith apples, contributes a crisp texture and a tartness that beautifully complements the sweetness of the caramel. These apples are not only ideal for their flavor but also for their ability to hold up during the cooking process, ensuring your jam has a delightful consistency.
What elevates traditional apple jam to a whole new level is the incorporation of caramel elements. The buttery richness of caramel adds depth and complexity to the jam, transforming it from a simple fruit spread into a luxurious treat that’s perfect for slathering on toast, pairing with cheese, or even as a filling for pastries. This unique blend of flavors makes caramel apple jam a wonderful addition to your pantry, especially in the fall when apples are at their peak and the desire for warm, comforting flavors is strong.
Ingredients Breakdown
Creating the perfect caramel apple jam starts with understanding each ingredient’s role in the final product. Below is a detailed look at the essential components that come together to create this delightful spread.
Granny Smith Apples
Granny Smith apples are the stars of this jam. Their bright green skin and crisp texture make them an excellent choice for jams. The tartness of these apples balances the sweetness of the caramel and sugars, creating a well-rounded flavor. Additionally, their firm flesh allows them to maintain their shape during cooking, which is crucial for achieving the desired consistency in your jam. When selecting your apples, look for firm, unblemished specimens to ensure the best flavor and texture.
Brown and Granulated Sugars
Sugar is a key ingredient in any jam, and in this recipe, both brown and granulated sugars play significant roles. Granulated sugar provides the initial sweetness needed to balance the tartness of the apples, while brown sugar contributes a richer, more complex flavor due to its molasses content. This combination not only sweetens the jam but also adds depth and enhances the caramel notes. It’s essential to measure the sugars accurately to achieve the perfect balance; too much can overpower the apples, while too little may leave the jam too tart.
Lemon Juice
Lemon juice serves multiple purposes in this recipe. First, it helps prevent the browning of the apples after they are peeled and chopped, maintaining the vibrant color of your jam. Second, the acidity of the lemon juice enhances the overall flavor, brightening the sweetness and tartness of the jam. It’s a small but crucial ingredient that elevates the taste profile and ensures your jam has a fresh, zesty finish.
Spices: Cinnamon and Nutmeg
Adding warmth and depth to the jam are the spices cinnamon and nutmeg. Cinnamon brings a familiar, comforting flavor that is often associated with fall and winter desserts, while nutmeg adds an earthy richness that perfectly complements the apple and caramel. These spices are often used in conjunction with each other, but be careful to use them in moderation; they should enhance the jam’s flavor without overpowering the natural tastes of the apples and caramel.
Sea Salt
A pinch of sea salt may seem unexpected in a sweet jam, but it plays a critical role in balancing the flavors. Salt enhances sweetness and brings out the natural flavors of the apples and caramel, ensuring a well-rounded taste. It’s important to use good quality sea salt, as its flavor is more complex than regular table salt, contributing to the overall richness of the jam.
Heavy Cream
Heavy cream is what makes this caramel apple jam truly indulgent. It adds a luscious richness that transforms the jam, allowing it to mimic the creamy texture of traditional caramel sauces. When incorporated, heavy cream blends seamlessly with the sugars and spices, creating a smooth, velvety finish that makes this jam irresistible.
Vanilla Extract
Vanilla extract is the finishing touch that elevates the flavor profile of your jam. Its sweet, floral notes complement the caramel and apples, creating a harmonious blend that feels both comforting and sophisticated. When choosing vanilla extract, opt for pure vanilla for the best flavor; imitation vanilla can have a synthetic taste that detracts from the quality of your jam.
Fruit Pectin
Finally, fruit pectin is crucial for achieving the right consistency in your jam. As a natural thickening agent, pectin helps the jam set properly, ensuring it has the perfect spreadable texture. Some fruits, like apples, contain natural pectin, but adding extra ensures that your jam will thicken appropriately during the cooking process. Be sure to follow the instructions on the pectin package for the best results, as different brands and types may have varying requirements.
Step-by-Step Preparation
Now that you have a clear understanding of the ingredients, let’s dive into the preparation process for this easy homemade caramel apple jam.
Preparing the Apples
The first step in making your caramel apple jam is preparing the apples. Start by peeling and coring the Granny Smith apples. This step is crucial, as the skin can add a bitter taste if left on during cooking. Using a sharp peeler, carefully remove the skin, ensuring that you get as much flesh as possible. Once peeled, slice the apples in half and remove the core, which contains the seeds.
After coring, chop the apples into uniform pieces. This is important for even cooking; larger chunks may take longer to soften, while smaller pieces may break down too quickly. Aim for ½ to 1-inch pieces, which will cook down evenly and create a lovely texture in your finished jam.
Cooking the Apples
With your apples prepped, it’s time to cook them. In a large, heavy-bottomed pot, combine the chopped apples with lemon juice and a splash of water. The water helps to prevent the apples from sticking to the bottom of the pot as they begin to cook. Place the pot over medium heat and allow the apples to simmer. As they cook, stir occasionally to ensure they cook evenly.
The cooking time will vary depending on your desired consistency. For a smoother jam, cook the apples until they break down significantly, about 15-20 minutes. If you prefer a chunkier texture, reduce the cooking time slightly, allowing some pieces to remain intact. Be vigilant during this process; overcooking can turn your apples into applesauce rather than a jam.
Incorporating Sugars and Spices
Once your apples have reached the desired tenderness, it’s time to incorporate the sugars and spices. Gradually add in the granulated sugar and brown sugar, stirring well to combine. The sugars will dissolve into the warm apples, creating a syrupy mixture.
Next, add the spices, sea salt, and heavy cream. This is where the magic happens; the sweet and spicy aromas will fill your kitchen as these ingredients meld together. Stir continuously to ensure that the spices are evenly distributed, and allow the mixture to simmer for an additional 5-10 minutes. During this time, monitor the consistency; if you find it too thin, let it cook a little longer until it thickens to your liking.
As you approach the end of the cooking process, add the vanilla extract and fruit pectin according to the package instructions. Stir well to ensure everything is thoroughly mixed, allowing the pectin to activate and help your jam achieve that perfect spreadable texture.
By following these steps carefully and paying attention to the details, you’ll be well on your way to crafting a delightful batch of homemade caramel apple jam. This recipe not only celebrates the flavors of autumn but also embodies the spirit of homemade goodness that can be shared with family and friends, creating new memories one jar at a time.
Adding Pectin
The key to achieving that perfect spreadable consistency in your homemade caramel apple jam lies in the right use of pectin. Pectin is a natural gelling agent derived from fruits, and it’s essential for thickening your jam. When you add pectin, timing is crucial.
After your apple mixture reaches a rolling boil, it’s time to sprinkle in the pectin. Stir it quickly into the mixture to ensure it dissolves completely and doesn’t clump. This step should be done while the jam is still bubbling vigorously. The boiling action helps activate the pectin, leading to a thicker consistency as the jam cools. Keep an eye on the clock; allowing it to boil for the recommended time on the pectin package (usually around one minute) will help ensure your jam sets properly.
Incorporating Caramel Elements
To infuse your jam with that rich, indulgent caramel flavor, it’s important to incorporate your caramel elements thoughtfully. After your mixture is cooked and the pectin is added, gently fold in the cream and vanilla extract. The cream adds a wonderful richness, while the vanilla enhances the overall flavor profile.
Make sure to use high-quality cream, as it will significantly affect the final taste of your jam. Allow the mixture to simmer for an additional few minutes after adding the cream and vanilla, stirring continuously. This will help integrate the flavors and achieve that smooth, caramel-like texture that makes your jam irresistible.
Testing the Consistency
Determining the right texture for your jam is crucial, and one of the most effective methods is the cold plate test. To perform this test, take a small plate and place it in the freezer for about 10 minutes before you start cooking. When you think your jam is ready, drop a spoonful of it onto the chilled plate.
Tilt the plate slightly. If the jam runs quickly, it needs more cooking time. If it holds its shape and you can see a line through it when you run your finger through the jam, it’s done! Take care not to overcook, as this can lead to a jam that becomes too thick or even candy-like when cooled.
Jarring the Jam
Once your jam has reached the desired consistency, it’s time to jar it up! Before you begin, it’s vital to ensure that your jars are properly sterilized. You can do this by either boiling them in water for at least 10 minutes or running them through the dishwasher on a hot cycle. Proper sterilization prevents bacteria from spoiling your jam.
When filling the jars, use a ladle or a funnel to avoid spills. Leave about a quarter-inch of headspace at the top of each jar. This space allows for proper sealing and expansion as the jam cools. Wipe the rims of the jars with a clean cloth to remove any residue that could prevent a proper seal.
Processing the Jars
After jarring your caramel apple jam, you have two options for preserving it: water bath processing or refrigeration. Water bath processing is essential for long-term storage, as it ensures that your jam is sealed properly and safe from spoilage.
To process your jars using the water bath method, place them in a large pot filled with boiling water, ensuring the jars are covered by at least an inch of water. Boil for about 10-15 minutes, depending on your altitude and the recipe instructions. If you prefer to store your jam in the fridge, simply let the jars cool completely before placing them in the refrigerator. Keep in mind that refrigerator storage is best for short-term use.
Cooling and Enjoying
Once your jars are processed, allow them to cool completely at room temperature. You’ll hear the delightful pop of the lids sealing, which is a reassuring sign that your jam is properly preserved.
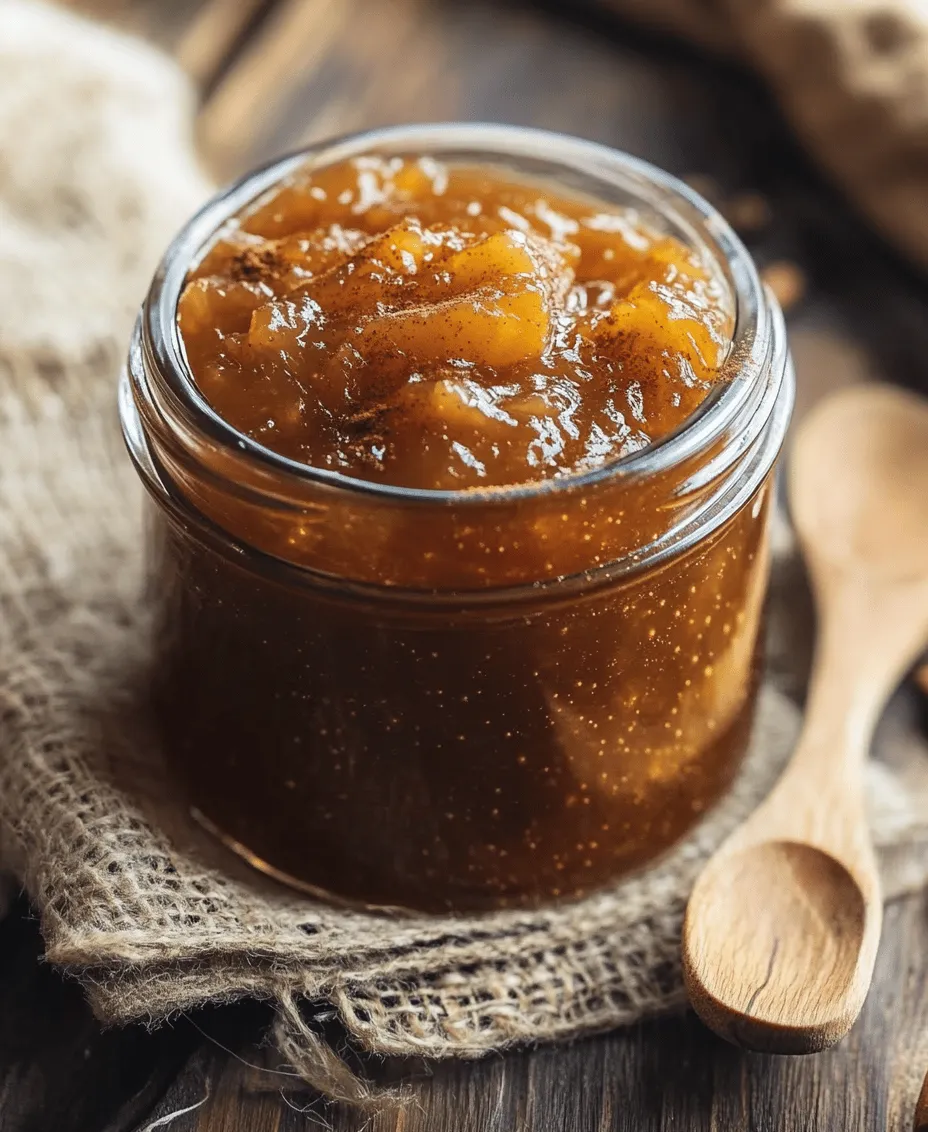
Now comes the fun part—enjoying your delicious homemade caramel apple jam! This jam pairs beautifully with a variety of foods. Spread it on warm toast, pancakes, or waffles for a delightful breakfast treat. It can also be used as a topping for ice cream or drizzled over cheesecake for a decadent dessert experience.
Storage and Shelf Life
To maintain the freshness of your homemade jam, store it in a cool, dark place. If properly processed and sealed, your caramel apple jam can last up to a year on the shelf. However, once you open a jar, it should be refrigerated and consumed within a few weeks.
For jams that are stored in the refrigerator without processing, you can expect a shelf life of about 2-3 weeks. Always check for signs of spoilage, such as mold or off odors, before consuming.
Creative Ways to Use Caramel Apple Jam
The versatility of caramel apple jam makes it a delightful addition to many meals. For breakfast, it can be spread on toast or English muffins, mixed into oatmeal, or used as a filling for pastries.
For dessert, consider using the jam as a topping for vanilla ice cream or drizzling it over a slice of cheesecake for a sweet, tangy contrast. You can also incorporate it into savory dishes by using it as a glaze for meats or as a component in a cheese board, pairing it with sharp cheeses and nuts for a delightful appetizer.
Health Benefits of Homemade Jam
Making jam at home allows you to have full control over the ingredients, resulting in a product that is often healthier than store-bought options. By reducing the amount of sugar and avoiding preservatives and artificial flavors, you can create a jam that is not only delicious but also more nutritious.
Apples themselves are a great source of dietary fiber, vitamin C, and various antioxidants. By making your own jam, you can enjoy the health benefits of apples while enjoying a sweet treat in moderation.
Conclusion
Making your own caramel apple jam is not just a cooking project; it’s an experience filled with joy and satisfaction. The rich flavors and delightful aroma will remind you of cozy autumn days, creating lasting memories as you share this treat with family and friends.
Don’t be afraid to experiment with flavors. Try adding spices like cinnamon or nutmeg for a more complex profile, or even mixing in other fruits for a unique twist. The joy of cooking lies in creativity, so put on your apron, gather your loved ones, and enjoy the process of creating something delicious together. The memories forged in the kitchen are often the sweetest, just like your homemade caramel apple jam.